

As spring approaches, many individuals seek to refresh their nail designs to reflect the season’s vibrant spirit. This article addresses the latest trends in spring 2025 nail art, including color palettes, techniques, and design ideas that cater to various styles and preferences. Whether you aim for chic elegance or playful creativity, you’ll find practical tips to enhance your nail game and achieve long-lasting results.
By understanding current color trends and mastering essential techniques, you can elevate your nail art to new heights. Read on for a comprehensive guide that provides inspiration and actionable suggestions for creating beautiful spring manicure designs.
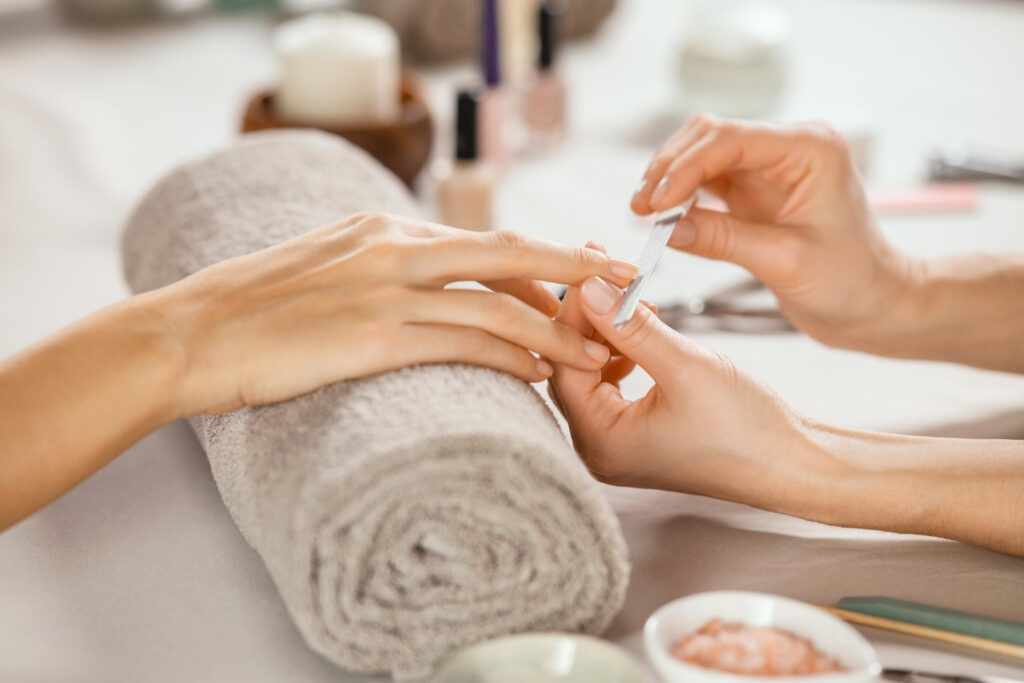
Table of Contents
Spring Color Trends for 2025 Nail Art
As we step into spring 2025, the world of nail art is set to bloom with vibrant shades and fresh aesthetics that capture the essence of renewal and growth. This season’s color trends for nail art not only embrace the lively spirit of spring but also reflect the nuances of personal expression and artistic creativity. Let’s explore the top color trends that will dominate nail art this season, giving you the perfect palette to work with for your next manicure.
Pantone’s 2025 Spring Colors
Pantone has once again set the tone for the season with its carefully curated selection of colors. For 2025, we can expect to see an influx of soft pastels and lively brights that mirror the natural world coming back to life. Key hues include:
- Blossom Pink: This delicate and uplifting shade embodies the soft petals of early spring flowers.
- Sky Blue: Reminiscent of clear spring skies, this refreshing color brings a serene vibe to any nail design.
- Citrus Zest: A vibrant, zesty orange hue that adds a cheerful and energetic touch to your nails.
- Lavender Dust: A muted, yet enchanting purple that offers a stylish, sophisticated option for manicure enthusiasts.
- Mint Green: This cool, fresh shade perfectly captures the essence of lush new growth in gardens and parks.
Nail Trends Inspired by Nature
Spring is nature’s canvas, and this season, nail art trends take direct inspiration from the organic beauty around us. Floral motifs, botanical prints, and nature-oriented designs will be at the forefront. Here are some recommendations for incorporating these elements:
- Floral Embellishments: Use shades of pink, lavender, and yellow to create beautiful flower designs. Consider 3D nail art techniques to add dimension.
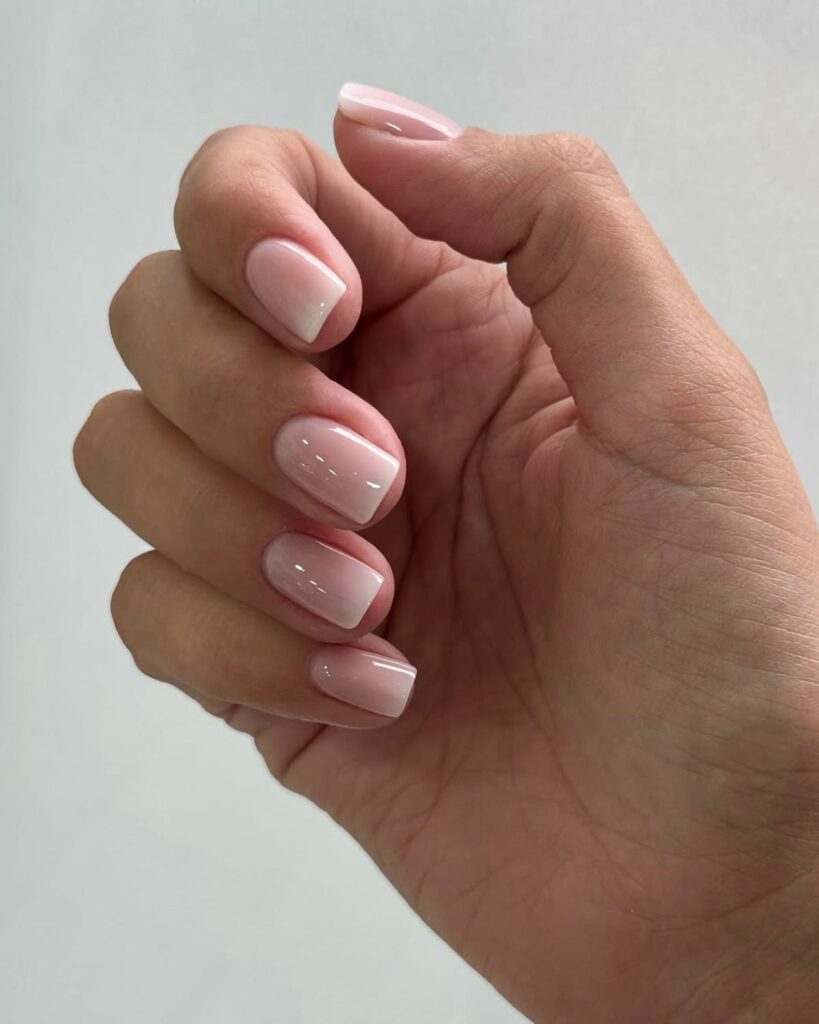
- Ombre Effects: Blend colors such as mint green fading into sky blue, mimicking the gradients in springtime skies.
- Geometric Patterns: Pair pastel colors with simple geometric designs that reflect the shapes found in nature, offering a modern twist to your nail art.
Metallic Accents
This spring, mixing bold colors with metallic accents will be a game-changer. Incorporating gold, silver, or rose gold details can elevate a simple manicure to a whole new level of sophistication. Here are some creative ideas:
- Metallic Tips: Go for a classic French manicure but replace the white tips with metallic shades to create a chic update.
- Floral Foil Accents: Apply metallic foil on top of floral nail designs for an eye-catching contrast, perfect for special occasions.
- Glitter Gradient: Create a gradient effect that transitions from a pastel base to glittering metallic tips.
Unique Color Pairings
To truly stand out this season, consider unique color pairings that are unexpected yet harmonious. Here are a few combinations to inspire your nail art creativity:
- Mint and Coral: Refreshingly vibrant, this pairing evokes a playful yet stylish vibe, perfect for spring festivities.
- Peach and Turquoise: A fun and lively contrast that captures the brightness of the season while remaining sophisticated.
- Soft Yellow and Charcoal: A chic blend of sunny yellow with a grounded charcoal creates a balanced and trendy look.
Conclusion
As we embrace spring 2025, the color trends for nail art reflect a spirited renaissance of creativity and renewal. Whether you opt for soft pastels, vibrant hues, or daring metallics, this season encourages self-expression through unique and elegant nail designs. Make sure to experiment with various techniques and color combinations to find what resonates with your personal style. For more inspiration and ideas, check out Glam Nail Designs, which offers a wealth of resources dedicated to spring nail design trends.
Techniques for a Flawless Floral Manicure
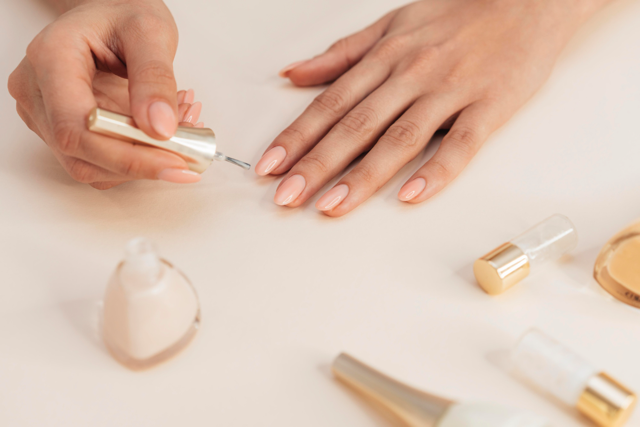
If you’re looking to elevate your nail game with stunning floral designs this spring, mastering the right techniques is crucial. A flawless floral manicure combines skill, creativity, and the right tools. Here’s a comprehensive guide to help you achieve a beautiful floral manicure that turns heads.
1. Prepare Your Nails
The foundation of any excellent manicure begins with proper nail preparation. Follow these steps to ensure your nails are primed for floral art:
- Clean and Shape: Remove any old polish and buff your nails to your desired shape. Use a nail file to create a smooth edge and ensure each nail is even.
- Cuticle Care: Push back your cuticles gently. Consider using a cuticle remover to tidy this area, as clean cuticles enhance the overall look of your manicure.
- Base Coat: Apply a quality base coat. This not only protects your nails from staining but also helps the polish adhere better, creating a lasting floral design.
2. Choose the Right Technique
Different techniques yield different effects in floral designs. Here are some popular methods to create stunning floral patterns:
- Freehand Painting: This technique allows for creativity and uniqueness. Use a fine detail brush to paint your flowers directly on the nails. Start with a lighter base color and layer with darker shades for depth.
- Stamping: Nail stamping plates simplify intricate designs. After applying a base coat, use stamping polish and a silicone stamper to transfer floral designs onto your nails. This method is quick and ensures uniformity across all nails.
- Water Marbling: For artistic flair, consider water marbling. Drop various nail polish colors into a bowl of water and swirl with a toothpick. Dip your nail into the design to create a one-of-a-kind floral pattern.
3. Perfecting the Floral Details
Adding details is where your floral manicure truly comes to life. Here are some tips:
- Layering Colors: Use multiple shades to create dimension in your flowers. Start with a base color and gradually build with lighter and darker hues for details like petals and leaves.
- Flat Brush Techniques: Use a flat brush to create petal shapes quickly. Dab the brush on the nail to form petals, and when using a combination of colors, blend them lightly for a gradient effect.
- Dotting Tools: A dotting tool can help create perfect flower centers or tiny details on petals. Use different sizes to achieve varying dot sizes, enhancing the overall floral look.
4. Top It Off
Once your floral designs are complete, sealing everything in place is crucial. Here’s how to finish:
- Top Coat: Apply a high-quality topcoat to protect your artwork and add shine. A gel top coat can provide extra durability, perfect for keeping your design intact longer.
- Drying Techniques: Consider using a quick-dry spray or drops to speed up the drying process without ruining your design. Patience is key, but keeping your flowers flawless is worth the wait!
5. Maintenance Tips
To ensure your floral manicure stays beautiful longer, consider the following:
- Avoid Excessive Water: Reduce exposure to water, as it can cause lifting of your designs.
- Moisturizing: Keep your hands and nails moisturized to prevent drying and cracking, which can detract from your manicure.
- Gentle Handling: Treat your nails with care; avoid using them as tools to prevent chipping and damage.
With these techniques, you’ll be well on your way to mastering the art of floral nail design. Remember, practice makes perfect, so don’t hesitate to experiment with different styles and techniques!
For more inspirations and design ideas, check out Glam Nail Designs and explore a world of beautiful spring nail designs.
Choosing the Right Products for Long-Lasting Nails
When it comes to achieving long-lasting nails, the products you choose play a pivotal role. From base coats to topcoats, understanding the right formulations can ensure your manicure not only looks impeccable but also stands the test of time. Here’s an in-depth look at how to select the most effective products for durable results.
1. Base Coats: The Foundation of Durability
Your journey to long-lasting nails begins with a quality base coat. Base coats serve multiple purposes: they protect your natural nails, enhance adhesive capabilities for polish, and can even prevent staining. When choosing a base coat:
- Opt for Strengthening Formulas: Look for products infused with strengthening agents like keratin or biotin.
- Fast-Drying Options: Choose a fast-drying base coat to streamline your nail routine.
- Compatibility with Nail Polish: Ensure your base coat is compatible with the nail polish you plan to use; some formulations work better with specific brands.
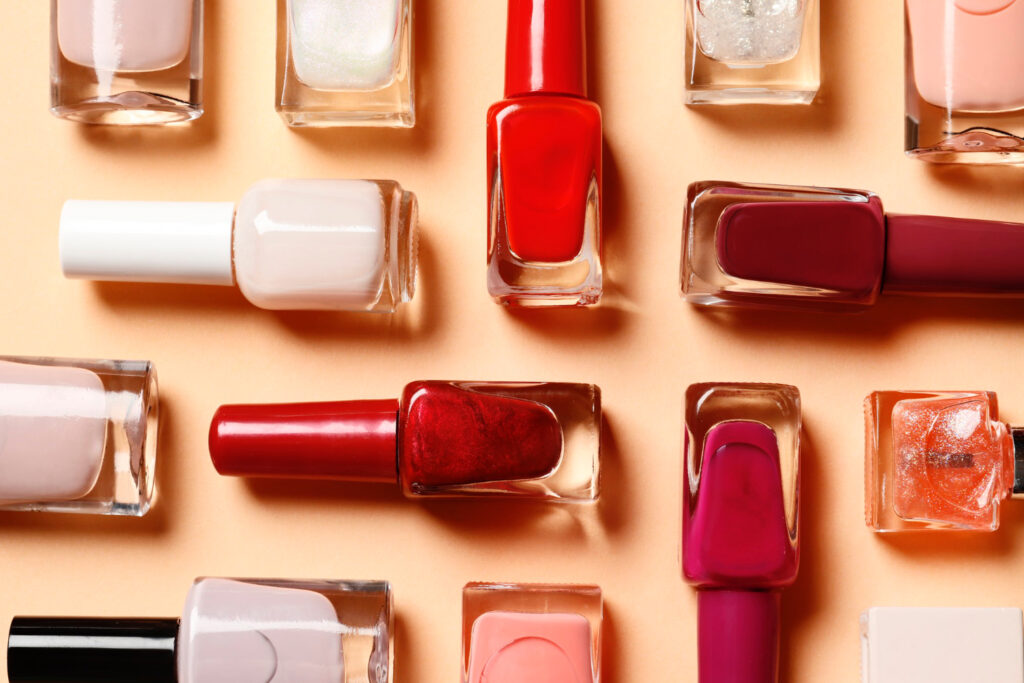
2. Nail Polishes: Quality Over Quantity
Not all nail polishes are created equal. The quality of the nail polish directly influences its longevity. When selecting nail polish:
- Select Professional-Grade Products: Brands that have a reputation for salon-quality polish are often more durable and chip-resistant.
- Avoid Fast-Drying Polishes: While convenient, fast-drying polishes may chip more easily than those that take longer to dry.
- Check for Toxin-Free Formulations: Look for polishes that are 5-free, meaning they exclude harmful chemicals like toluene, formaldehyde, and DBP.
3. Top Coats: Sealing the Deal
A good top coat is essential for locking in your design and providing extra shine and longevity. key considerations when selecting a top coat include:
- Gel-Like Finish: Opt for a top coat that offers a gel-like finish, which can enhance shine and increase durability.
- Quick-Dry Formulas: A top coat that dries quickly prevents smudges and maintains your nail art’s integrity.
- Protection Against UV Rays: Some top coats provide UV protection to avoid fading, which is ideal for bright or pastel colors.
4. Nail Treatments: Additional Care
Incorporating nail treatments into your routine can significantly enhance the health and resilience of your nails. When choosing treatments, consider:
- Moisturizing Oils: Look for cuticle oils or nail strengthening serums that hydrate and fortify your nails.
- Peel-Off Nail Polish Removers: Opt for acetone-free removers to prevent drying out your nails and cuticles.
- Repair and Strengthening Treatments: Products that target peeling or brittle nails can help maintain a solid foundation for your manicure.
5. Maintain Your Products
To ensure your chosen products perform at their best, storing them properly and being mindful of expiration dates is crucial. Here are some tips:
- Store in a Cool, Dark Place: Heat and sunlight can alter the chemical composition of nail products, making them less effective.
- Seal Tight: Always ensure lids are tightly sealed after use to avoid drying out.
- Regularly Check Expiration Dates: Using expired products can lead to application issues and poor results.
By carefully selecting and maintaining your nail products, you can elevate your manicure game and enjoy radiant, long-lasting nails. As you experiment with textures and colors, remember that the right tools will pave the way for healthy nails and stunning designs. In the next section, we’ll explore creative design ideas for elegant spring nails that will beautifully complement your well-chosen products.
Creative Design Ideas for Elegant Spring Nails
As the season of renewal unfolds, spring beckons with a delightful palette that inspires a fresh approach to nail design. This year, elegance takes center stage as we explore unique and creative nail art ideas that showcase the beauty of spring. Whether you prefer subtle sophistication or bold statements, these design ideas will refresh your nail game and ensure you step into spring with style.
1. Pastel Perfection
Pastels are a hallmark of spring colors, embodying both sweetness and sophistication. This season, consider creating a gradient effect using pastel shades such as lavender, mint green, and soft peach. This approach enhances the elegance without overwhelming the senses.
- Ombre Technique: Blend two or more pastel shades from the cuticle to the tip for a seamless look.
- Accent Nail: Choose one nail on each hand to feature a unique design—like polka dots or floral patterns—for added interest.
2. Floral Accents with a Twist
Floral designs are synonymous with spring, but try adding a twist by focusing on abstract forms or minimalistic representations. Instead of intricate bouquets, consider simple line art or negative space designs that highlight negative space while maintaining elegance.
- Line Art Flowers: Use a fine brush to create outlines of flowers in contrasting colors, such as white against a soft pink background.
- Negative Space: Leave portions of your nail natural while painting organic shapes around it, creating a beautiful interplay of color and texture.
3. Metallic Dots & Stripes
Add a bit of shine to your spring nails by incorporating metallic elements. Think subtle but striking with minimalist designs using silver or gold to accentuate your spring palette. Metallic dots or stripes can elevate your overall look while maintaining simplicity.
- Polka Dot Accents: Create a base with a solid pastel color and dot one nail with metallic dots for an eye-catching feature.
- Striped Nails: Use tape to create clean lines and fill them with metallic polish for a dynamic yet elegant finish.
4. Geometric Patterns
For those who appreciate modern artistry, geometric patterns are a fantastic way to express creativity. Combine shapes and lines using spring colors to create a chic, sophisticated look that stands out.
- Triangular Designs: Use tape to section off triangular shapes on your nails, filling them with complementary colors for a visually appealing finish.
- Intersecting Lines: Add thin stripes across a base coat to create an illusion of depth and dimension, perfect for a contemporary spring look.
5. Incorporating Textures
Texture can enhance your nail designs, giving them a multi-dimensional feel. This season, explore using matte topcoats alongside glossy finishes to create a striking contrast that captures attention.
- Matte Base with Glossy Tips: Paint your nails with a matte finish and enhance the tips with a glossy topcoat for a chic twist.
- Textured Accents: Consider sand or sugar nail polishes for a unique tactile experience, especially combined with pastel colors.
Spring is a time to embrace creativity and elegance through your nail designs. Whether you opt for pastel perfection, floral accents, or geometric patterns, the possibilities are endless. For a more comprehensive guide to spring nail art, check out Glam Nail Designs, where you can explore vibrant trends and techniques to elevate your nail art further.
This spring, nail art trends emphasize vibrant color combinations and creative techniques to elevate your manicure. Focus on shades like pastel pink, lavender, and yellow for delicate floral designs, or explore bold pairings such as mint and coral. Incorporate 3D techniques like ombre effects and metallic accents, including metallic tips and foil details, to add dimension and sophistication to your look.
To achieve long-lasting nails, start with a quality base coat that protects and adheres polish, and opt for professional-grade nail polishes free from harmful chemicals. Finish with a gel-like top coat for extra shine and durability. Experiment with various patterns and textures—such as geometric designs and matte finishes—while ensuring proper nail care to maintain the integrity of your manicure. For more inspiration, visit resources like Glam Nail Designs, offering a plethora of creative ideas for spring nail art.